
Create a Yopmail Account Login and Logout


With the amount of time we spend on the internet these days, there are countless places where we need to enter our email addresses. Sometimes, we are asked for our email address just to use a website that we are only going to use once. And if we do give it to them, we often find ourselves receiving lots of unwanted spam email. In these situations, a temporary email or disposable email address is very useful. If this ever happens to you, your solution is YOPMail.
What is YOPMail?
The “YOP” in YOPMail stands for “Your Own Protection”, and that’s exactly what it is for. As you can see in this screen shot of the home page, YOP Mail provides disposable email addresses that you can use whenever you need to enter an email address into a registration form but don’t want to be dealing with unwanted emails for the rest of eternity.
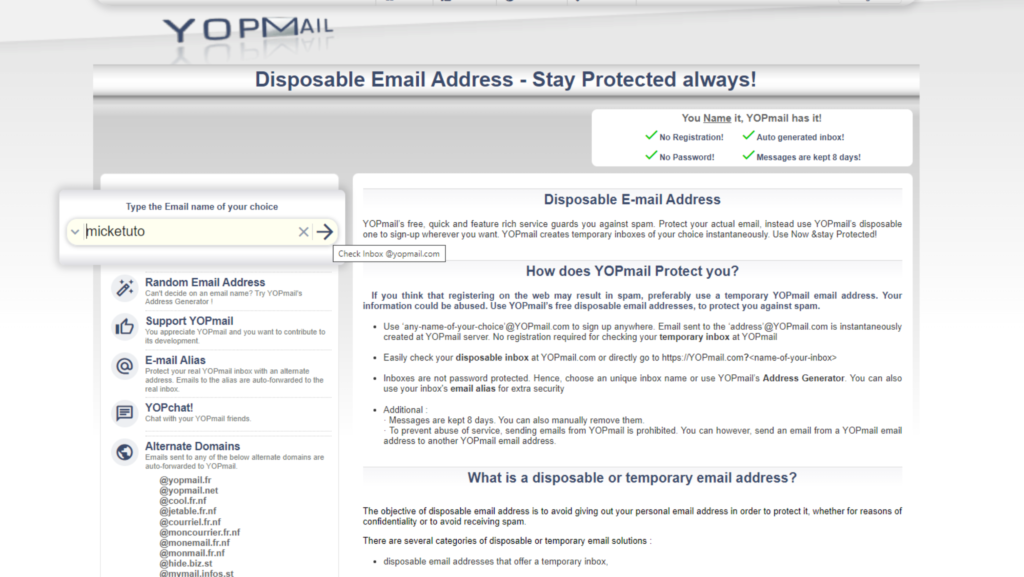
Here’s the basic idea: you simply type in any random email address you can think of into the form you’re filling out on a website, and end the email with “@yopmail.com”. The website will take this temporary email address that you’ve just invented, so you don’t have to give your real one away.
Then, if you need to check an email sent by that website, like an account activation or free download, for example, just go to the website and type in that same random email in the box in the upper left hand corner.
No registration is needed to use a temporary email or throwaway email from YOPMail.
The process is quite different from what most people are used to, though, so in this post we have a simple step by step tutorial on using YOPMail’s most basic feature: creating a disposable email, using it to sign up on some website, and checking your temporary email account.
How to Create a YOPmail Account and How to Use It
Introduction
YOPmail is a popular temporary email service that allows users to create disposable email addresses for various online activities. Creating a YOPmail account is quick and straightforward, and using it effectively can enhance your online privacy and convenience. In this article, we will guide you through the process of creating a YOPmail account and provide step-by-step instructions on how to use it.
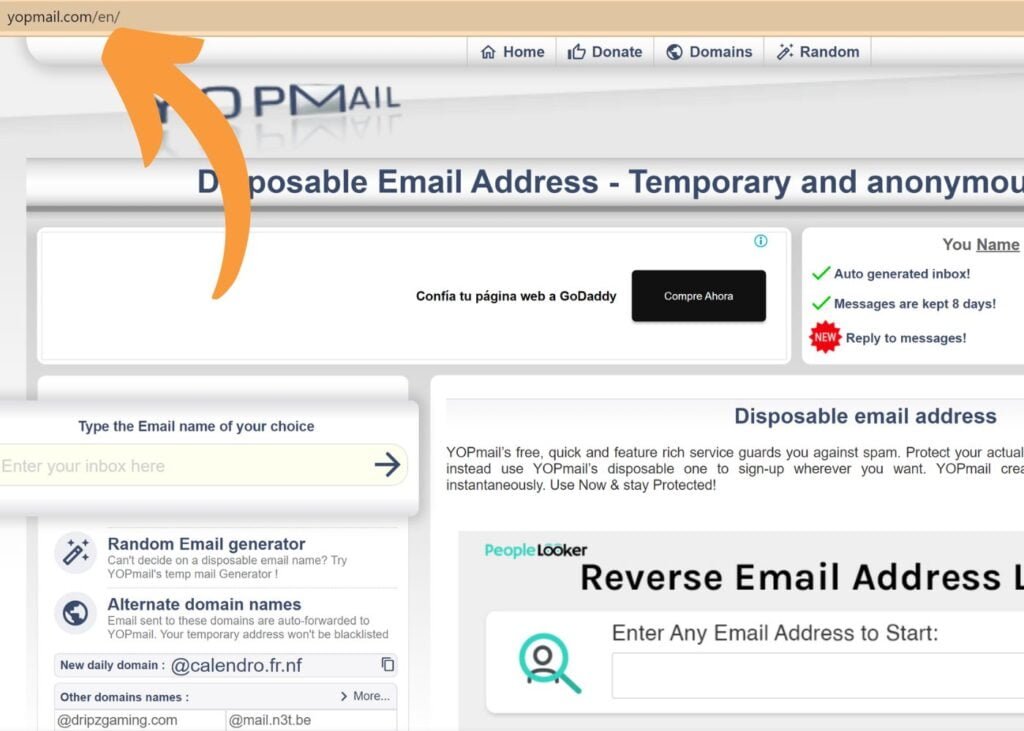
Step 1: Accessing the YOPmail Website
- Open your preferred web browser and go to the YOPmail website by entering "www.yopmail.com" in the address bar.
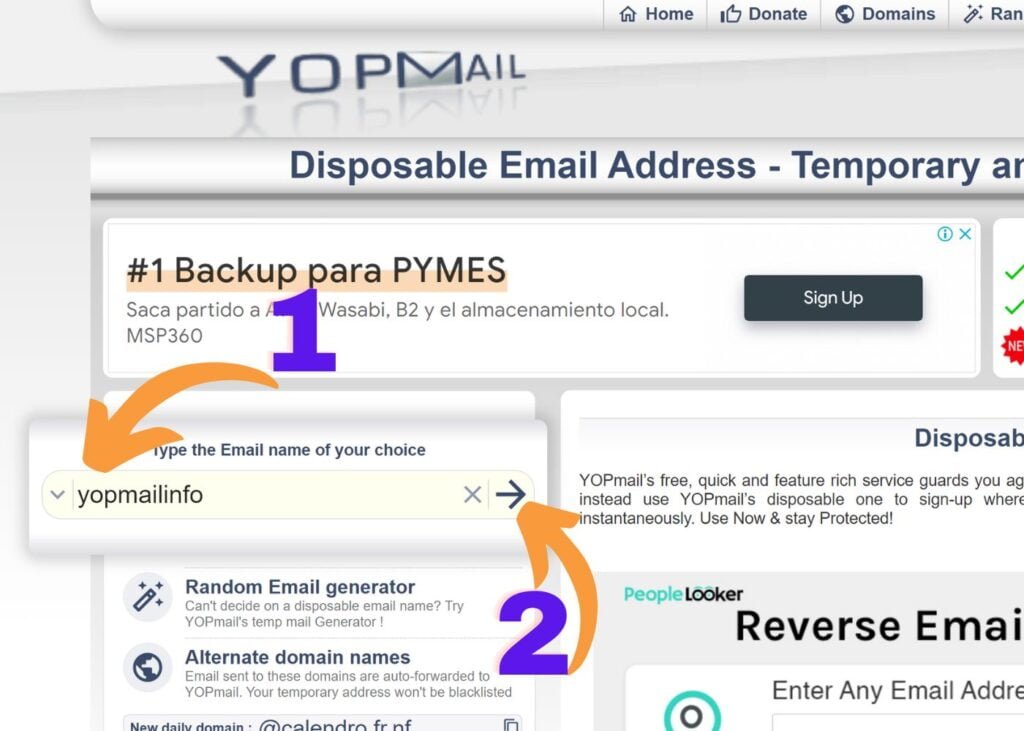
Step 2: Generating a YOPmail Address
- On the YOPmail homepage, you will see a randomly generated email address in the inbox section. This is your temporary email address. You can use this address or click on the "Change" button to customize it with your preferred username.
Step 3: Sending and Receiving Emails
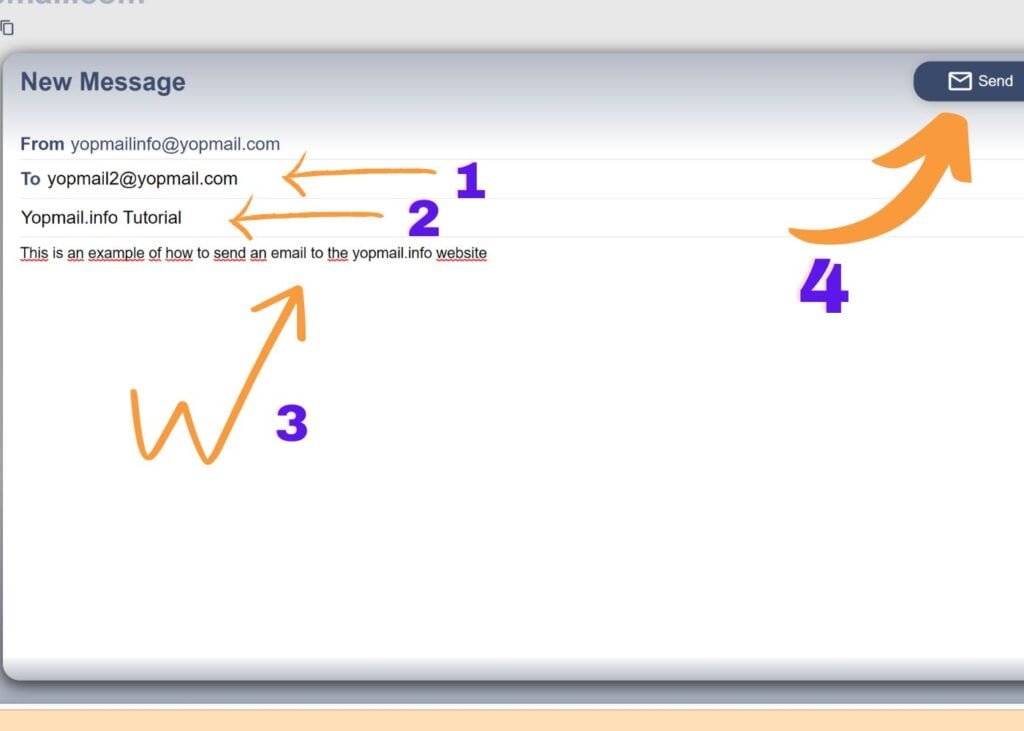
- To send an email from your YOPmail account, click on the "Compose" button or the "Write an email" link.
- In the "To" field, enter the recipient's email address.
- Add a subject for your email in the designated field.
- Compose your message in the body section.
- Optionally, you can attach files to your email by clicking on the attachment icon.
- Once you have composed your email, click on the "Send" button to send it.
- You can only send email to YOPmail addresses

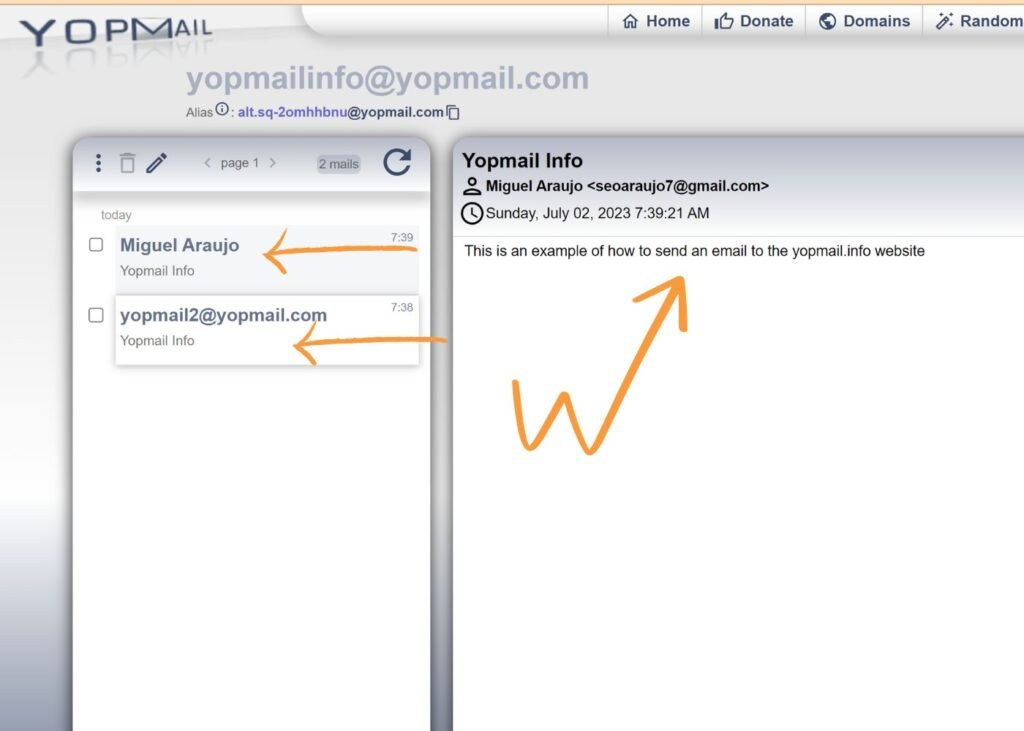
Step 4: Checking Your Inbox
- To access your YOPmail inbox, simply return to the YOPmail homepage and enter your YOPmail address in the provided field.
- Click on the "Check Inbox" or "Check Email" button to view your received emails.
- Your inbox will display the list of emails received, including the sender's name, subject, and the time the email was received.
Step 5: Refreshing Your Inbox
- YOPmail automatically refreshes your inbox periodically to display new emails. However, if you want to manually refresh the inbox, you can click on the "Refresh" button or use the provided shortcut.

Step 6: Deleting Emails
- To delete an email, simply click on the checkbox next to the email you want to remove.
- Once you have selected the email(s) you wish to delete, click on the "Delete" button or the trash bin icon.

Step 7: Additional Features and Options
- YOPmail offers additional features and options to enhance your experience. These include forwarding emails, replying to messages, creating folders to organize your emails, and adjusting settings such as language preferences.
- Explore the YOPmail website to discover these features and make use of them according to your needs.
Conclusion
Creating and using a YOPmail account is a simple and effective way to manage your temporary email needs. By following the steps outlined in this guide, you can create a YOPmail account, send and receive emails, manage your inbox, and take advantage of additional features. YOPmail provides a convenient solution for protecting your privacy, avoiding spam, and maintaining anonymity during online activities. Start using YOPmail today and experience the benefits of temporary email communication.